Because there are already a ton of how-to's on the subject ( I learned the most from Vic at The Lazy Rondo Blog) and because I'm terrible at stopping what I'm doing to take pictures, I'm not going to go into too much depth on what I did, but there are a couple things I learned that I will touch upon.
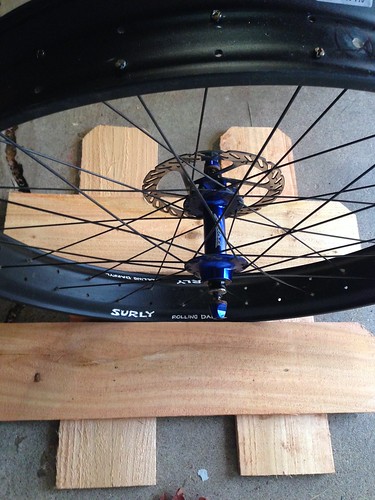
A jig really helps to hold the wheel steady while you drill. I made mine by nailing some pieces of cedar fencing together.
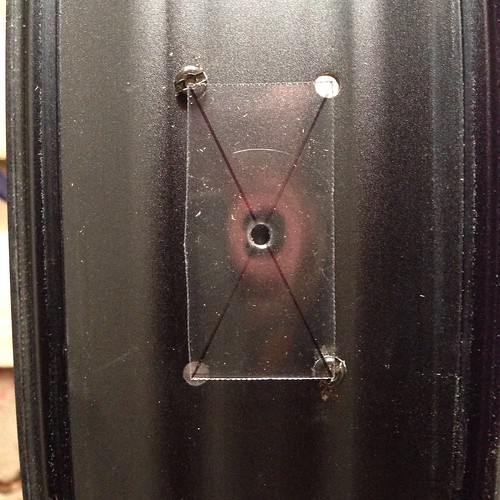
A template helps get the holes lined up right where they should be. I used a center punch so the drill bit wouldn't wander.
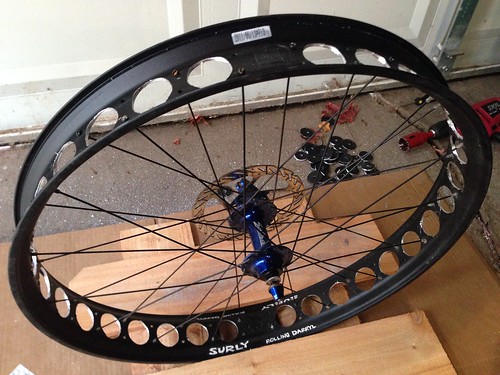
Drilling the holes was the easy part. Smoothing the edges was a pain. I used a grinding wheel on my dremel and it took forever. Before I do Trish's wheels I think I'll pick up a deburring tool. It should be quicker and will probably do a better job.
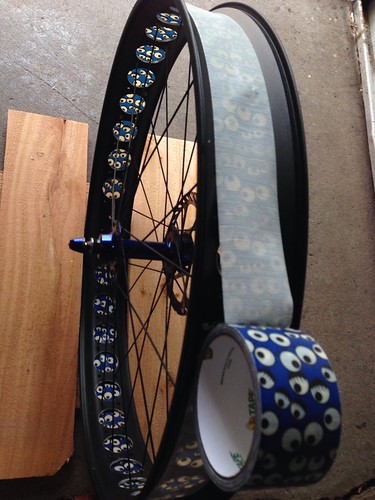
The most vital part of the whole project is picking a fun tape. Musn't be boring.
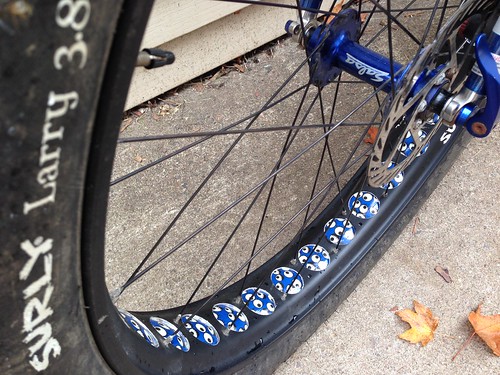
The final numbers: It took me 7 hours which I would have just spent reading bike blogs, $20ish in tools and supplies, and 1.2 lbs lost between the two wheels.
Coming up next time: An even less detailed look at my tubeless conversion. Stay tuned.
Excellent! Nice job! I have a friend of that did that and that is what led me to buying the holes when I built mine.
ReplyDeleteThanks! Now I get to do Trish's. Practice makes perfect.
Delete